
At its core, a web hook example is a simple, automated message sent from one app to another whenever a specific event happens—think of a new order being placed or an inventory level changing. For an integration developer, this is a fundamental concept. Instead of your application constantly having to ask for new data (a process called polling), a webhook just pushes that information to you in real-time. This event-driven model is far more efficient for building responsive and scalable B2B software.
What Is a Webhook? A Practical Introduction

For anyone building integrations, webhooks are the bread and butter of responsive, event-driven systems. Let's say you're building a solution that syncs inventory between an eCommerce store and a warehouse management system (WMS). Without webhooks, your WMS would have to poll the store's API every few minutes, repeatedly asking, "Any new orders? How about now? Any new orders yet?" This is not only inefficient but also burns through API rate limits and adds unnecessary load to both servers.
With a webhook, the process is clean and immediate. The moment an order is created, the eCommerce platform simply sends a notification straight to your WMS endpoint. This push-based model is a game-changer for developers building robust integrations.
Here’s why it works so well:
- Real-Time Data: Systems stay perfectly in sync without frustrating delays.
- Improved Efficiency: You eliminate the constant, resource-heavy noise of API polling.
- Scalable Architecture: It drastically reduces the server load for both the sender and the receiver.
This is exactly why webhooks have become a standard for modern software development. In fact, industry analysis shows that webhooks are now used by 50% of organizations, cementing their role in today's API-first architectures. You can dig into this trend and more in the latest State of the API report.
Webhooks vs API Polling At a Glance
To really understand the difference, a quick comparison helps. Webhooks operate on a "push" model, while traditional API calls rely on a "pull" model.
| Attribute | Webhooks (Push Model) | API Polling (Pull Model) |
|---|---|---|
| Data Flow | The server sends data automatically when an event occurs. | The client must request data from the server at intervals. |
| Efficiency | Highly efficient; no wasted requests for unchanged data. | Inefficient; many requests may return no new information. |
| Timeliness | Near real-time. Data is received almost instantly. | Delayed. Data is only as fresh as the last polling interval. |
| Resource Use | Low server load on both sender and receiver. | High server load, especially with frequent polling. |
| Best For | Event-driven updates (e.g., new orders, status changes). | Infrequent data checks or when real-time isn't critical. |
Ultimately, webhooks are designed for situations where you need to react to changes as they happen, whereas polling is better suited for periodic checks.
Speeding Up Development with a Unified Approach
Now, imagine the challenge for an integration developer: you need to handle unique webhook formats for dozens of platforms like Shopify, Magento, and WooCommerce. The development and maintenance overhead quickly becomes a nightmare. This is where a unified API solution like API2Cart really shines. It provides standardized webhooks across 60+ eCommerce platforms, so you can subscribe to a single event like order.add and get the same, predictable data structure no matter which shopping cart it came from.
This approach dramatically accelerates development timelines and simplifies long-term maintenance for any integration developer. Instead of writing custom logic for each platform, you build once and deploy everywhere. To see how foundational this is, just consider how webhooks enable seamless CRM integration by letting different systems talk to each other in real-time.
Anatomy of a Webhook Request

To build a reliable webhook integration, you first have to get comfortable with its basic structure. It helps to think of a webhook request like a package arriving at your server's doorstep. It has a label, some metadata, and the actual contents inside—all of which tell you where it came from and what to do with it.
At its core, every webhook is made up of three distinct parts. Getting a handle on these is the absolute first step to building a listener that can correctly interpret and act on the data that’s being sent your way. Without this, you won’t be able to securely or effectively process any web hook example.
These components show up universally, whether you’re getting a notification from a single shopping cart or a unified service. Each piece plays a critical role in the whole communication dance.
The Core Components
HTTP Method: This tells your server what action is being performed. For webhooks, the method is almost always
POSTbecause the source system is sending, or "posting," a new piece of information to your endpoint.Headers: This is all the metadata about the request. Headers contain vital info like the
Content-Type(which is usuallyapplication/json), the user agent, and most importantly, security signatures used to verify the webhook is authentic and not a fake.Payload (Body): This is the main event—the actual content of the message. It's typically a JSON object that holds all the data about what happened, like the complete details for a new order or an updated product.
For any developer, parsing these components correctly is non-negotiable. The headers are your security check, confirming the message is legitimate. The payload gives you the raw data you need to kick off your business logic, whether that’s updating inventory levels or syncing a new customer record.
For an integration developer, the real challenge isn't just parsing one webhook format, but dozens. Each platform has its own unique payload structure and signature verification method, creating significant overhead.
This is exactly the headache API2Cart was built to solve. Instead of you having to write custom parsers for Shopify, then Magento, then WooCommerce, you get a single, standardized webhook format for events like order.add across all 60+ platforms. This unified model slashes redundant code and drastically cuts down development time, letting you focus on building great features instead of untangling countless endpoint variations.
Practical Webhook Examples for ECommerce
Theory is great, but for a developer, the real work starts when you get your hands on actual data. This section is a practical, copy-paste-ready library of the most common eCommerce webhook payloads you'll run into in the wild.
Knowing the structure of a webhook example is the key to building solid, reliable logic. Whether you're syncing inventory, updating a CRM after a sale, or kicking off a fulfillment process, the webhook payload is your single source of truth. The examples below are your blueprint for building webhook listeners that just work.
New Order Created
When a customer finally clicks "buy," the order.add webhook is one of the most important notifications your system will receive. This single event can trigger entire workflows across fulfillment, accounting, and customer communication systems. A good payload contains everything you need to get the ball rolling.
Here’s a typical JSON payload for a brand-new order:
{
  "event": "order.add",
  "store_id": "store123",
  "order_id": "ORD-2024-78910",
  "status": "processing",
  "currency": "USD",
  "total_price": 125.50,
  "customer": {
    "email": "[email protected]",
    "first_name": "Jane",
    "last_name": "Doe"
  },
  "shipping_address": {
    "address1": "123 Maple Street",
    "city": "Anytown",
    "state": "CA",
    "zip": "90210",
    "country": "US"
  },
  "line_items": [
    {
      "sku": "TSHIRT-BLUE-L",
      "name": "Blue T-Shirt - Large",
      "quantity": 2,
      "price": 50.00
    },
    {
      "sku": "MUG-WHITE",
      "name": "White Coffee Mug",
      "quantity": 1,
      "price": 25.50
    }
  ]
}
ECommerce Webhook Event Payloads
To build reliable integrations, you need to know what data to expect. The table below outlines the most common webhook events, the key fields you'll find in their payloads, and what they're typically used for. Think of it as a quick-reference guide for mapping webhook data to your application's logic.
| Webhook Event | Key Payload Fields | Typical Use Case |
|---|---|---|
order.add |
order_id, status, total_price, customer, line_items |
Triggering order fulfillment, updating accounting records, sending confirmation emails. |
product.update |
product_id, sku, inventory_quantity, price |
Syncing stock levels across a WMS or ERP, updating pricing in a PIM. |
customer.add |
customer_id, email, first_name, last_name, address |
Creating or updating customer profiles in a CRM, triggering welcome email sequences. |
order.update |
order_id, status, tracking_number, shipping_carrier |
Sending shipping notifications to customers, updating order status dashboards. |
product.delete |
product_id, sku |
Removing a discontinued product from all sales channels and internal systems. |
cart.abandoned |
cart_id, customer, line_items |
Triggering cart recovery email campaigns, collecting data on abandoned products. |
This summary is just a starting point, as each eCommerce platform has its own quirks and data structures. That's why working with a unified API that standardizes these payloads can save countless hours of development and maintenance.
Product Stock Updated
Keeping inventory levels in sync across multiple systems is a classic—and often painful—integration challenge. The product.update webhook, especially when it fires for inventory changes, is absolutely critical for preventing overselling and keeping data accurate between an eCommerce store and a Warehouse Management System (WMS).
This kind of webhook can be triggered by anything from a manual stock adjustment in the admin panel to a customer return or a new shipment of goods being logged into the system.
{
  "event": "product.update",
  "store_id": "store123",
  "product_id": "prod_abcde12345",
  "sku": "TSHIRT-BLUE-L",
  "variants": [
    {
      "variant_id": "var_fghij67890",
      "sku": "TSHIRT-BLUE-L",
      "inventory_quantity": 97,
      "old_inventory_quantity": 99
    }
  ]
}
Developer Insight: Now, imagine trying to manage these different payload structures across 60+ shopping carts. It's a massive undertaking. Each platform sends slightly different fields and uses its own unique formats, which quickly turns into a maintenance nightmare for any development team.
This is where a service like API2Cart really shines. Instead of writing custom parsing logic for every platform's unique webhook payload, you subscribe to standardized API2Cart webhooks. A single product.update webhook from us gives you a consistent, predictable JSON structure, no matter if the event came from Shopify, WooCommerce, or Magento. This unified approach slashes development time and removes the headache of supporting dozens of different formats. To see how this fits into a broader integration strategy, you can read more about how webhooks perfectly supplement API polling.
How to Build Your Webhook Listener
To actually use a webhook, you first need a place for it to send data. This is a publicly accessible URL on your server, often called a webhook listener or an endpoint. Think of it as a dedicated mailbox waiting for incoming notifications from another system.
Building a listener is often the first real, hands-on step in making any web hook example come to life, and it's more straightforward than you might expect.
The core job of your listener is surprisingly simple. It needs to accept an incoming HTTP POST request, pull the data out of its body, and immediately shoot back a 200 OK status response. This response is crucial—it's your way of telling the sending system, "Got it, thanks!" which prevents it from trying to send the same event notification again.
For example, an eCommerce integration might listen for common events like these:
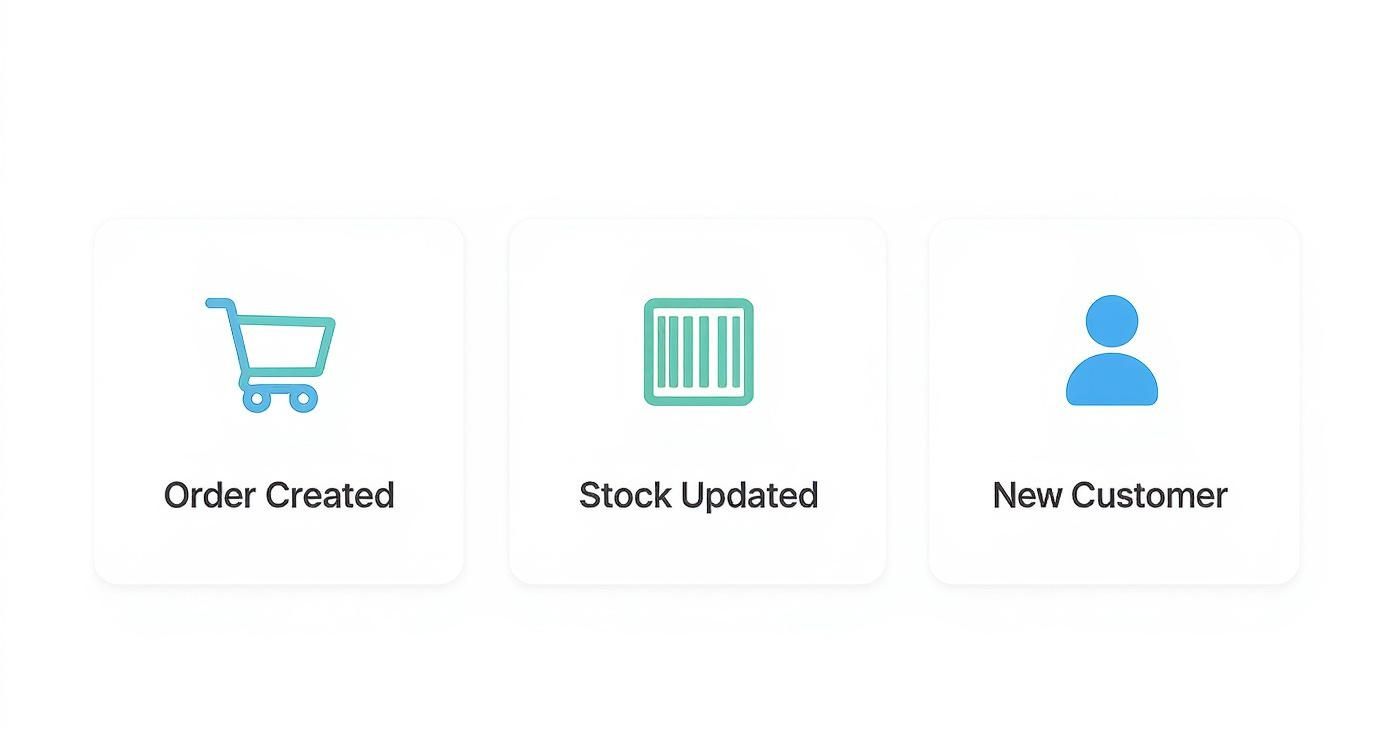
Each of these notifications represents a vital piece of information. As an integration developer, your job is to catch these events to keep all connected systems perfectly in sync.
Creating Your First Endpoint with Code
You can spin up a basic listener pretty quickly using lightweight web frameworks. Developers working with Node.js often reach for Express, while Python developers might use Flask. Both make it easy to set up a simple server that can listen for requests on a specific path, often in just a few lines of code.
Here's what a bare-bones listener looks like using Node.js and Express:
const express = require('express');
const app = express();
const port = 3000;

// Use middleware to parse JSON bodies
app.use(express.json());

// Define the webhook listener endpoint
app.post('/webhook-listener', (req, res) => {
  console.log('Received webhook payload:', req.body);

  // Acknowledge receipt of the webhook
  res.status(200).send('Webhook received!');
});

app.listen(port, () => {
  console.log(`Server listening at http://localhost:${port}`);
});
This small script creates a server that simply logs any incoming JSON payload to the console and sends back that all-important success response.
The Challenge for Integration Developers
While building one listener is simple enough, the real-world complexity quickly multiplies for integration developers. Imagine having to build, test, and maintain separate listeners to handle the unique data structures and security protocols for every single eCommerce platform you connect with. It's a massive amount of repetitive work that creates a serious development bottleneck.
A unified API like API2Cart cuts through all that redundant effort. Instead of building countless listeners for Shopify, Magento, and dozens of others, you build just one listener for API2Cart. We do the heavy lifting of standardizing webhooks from over 60+ platforms, sending you a single, consistent payload format for events like
order.addandproduct.update. This approach doesn't just speed up development time—it makes long-term maintenance drastically simpler.
Implementing Essential Webhook Security
Leaving a webhook endpoint unsecured is like leaving your back door wide open. It’s a massive liability, creating a clear path for malicious actors to pump fake data directly into your system. When you're building out a web hook example, you have to treat security as your absolute first priority, not an afterthought. Just accepting any POST request that shows up at your URL isn't going to cut it; you have to rigorously prove that every single message is legit and hasn't been messed with.
Think of this verification process as your digital bouncer. It's the only thing ensuring that the data you're about to process actually came from the source you expect and wasn't altered in transit. Without it, you’re completely exposed to a range of attacks, from simple data forgery to replay attacks, where a hacker just resends old, valid payloads to trigger duplicate—and often costly—actions.
Validating Signatures and Timestamps
The two pillars of webhook security are signature validation and timestamp checking. Get these two right, and you're most of the way there.
Signature Validation: Here's how it works. The sending application takes a secret key (that only you and they know) and uses it to create a cryptographic signature for the payload, usually with an HMAC-SHA256 algorithm. That signature gets sent along in the request headers. On your end, your listener has to do the exact same calculation on the payload it received and compare its own signature to the one in the header. If they match, you know the webhook is authentic.
Timestamp Checking: This one is all about stopping replay attacks. The webhook payload needs to include a timestamp of when it was sent. Your listener's job is to check if that timestamp is recent—say, within the last five minutes. If the timestamp is too old, you just reject the request. This simple check makes it impossible for an attacker to reuse an old payload they might have intercepted.
Since webhooks are so often hosted in the cloud, it's a good idea to align their security with broader cloud computing security best practices. This creates a much more robust, layered defense for your entire infrastructure.
Now, for developers building integrations, implementing these checks for every single platform is a painful, tedious process. One shopping cart might use one signature header, while another uses a completely different timestamp format. This quickly leads to a tangled mess of brittle, hard-to-maintain code.
A unified solution like API2Cart completely changes the game by standardizing the entire security model. You implement just one signature validation method, and it works across all 60+ integrated platforms. This move alone drastically cuts down on complexity and fortifies your security posture right from the start. You get to focus on your app's core features, knowing with confidence that your webhook endpoints are locked down.
Speed Up Your Integrations with API2Cart Webhooks
Anyone who's built an integration knows that setting up a single webhook listener is usually no big deal. The real headache starts when you need to connect to the entire eCommerce world. Every platform, from Shopify to Magento to WooCommerce, has its own way of doing things—different webhook structures, unique authentication methods, and completely different data payload formats. This quickly turns into a massive development and maintenance nightmare.
Trying to build and manage all these connections manually just doesn't scale. Your team ends up writing the same code over and over again, just to parse slightly different JSON for the exact same event, like a new order. This kind of complexity slows you down, bloats your codebase, and fills it with fragile, platform-specific logic that's a pain to maintain.
The Power of a Unified Webhook API
This is exactly the problem we built API2Cart to solve. Instead of you having to build dozens of individual listeners, you just build one. We provide a unified webhook system that standardizes events from over 60+ shopping platforms. You subscribe to a single, consistent event like order.add or product.update, and we do the heavy lifting of translating each platform's native webhook into a clean, predictable format for you.
This unified approach makes your architecture so much simpler. Your team can get back to building the core features of your application instead of getting stuck in the weeds of countless third-party APIs. You can learn more about how API2Cart supports webhooks for major platforms and what it can do for your project.
By standardizing the webhook process, developers can slash integration development time by weeks, if not months. A single, reliable webhook stream means you can deploy faster, maintain your system with less effort, and scale your solution across the entire eCommerce market without having to rewrite your core logic.
Streamline Development and Cut Costs
For integration developers, time is money. Every hour spent debugging a platform-specific webhook issue is an hour not spent on feature development. Consider a typical use case: building a shipping management solution. You need to receive new order notifications from every platform your clients use. With a manual approach, this means:
- Researching the webhook format for Shopify, Magento, WooCommerce, BigCommerce, etc.
- Writing custom parsing logic for each platform's unique payload.
- Implementing different signature validation methods for each one.
- Maintaining all of this disparate code as each platform updates its API.
This process is slow, expensive, and error-prone. By using a unified solution like API2Cart, you bypass all of this. You implement one webhook listener and one validation method. This allows you to onboard new platforms almost instantly, giving you a serious competitive edge and dramatically reducing your time-to-market.
Your Top Webhook Questions, Answered
If you're an integration developer, you've probably run into the same handful of questions every time you work with a new webhook example. Getting these right is the key to building systems that are resilient, testable, and don't wake you up at 3 AM.
A classic point of confusion is the whole webhook vs. API thing. Just think of it as push versus pull. With a standard API, your application has to constantly ask, or pull, for new data. With a webhook, the source application pushes the data to your endpoint the second an event happens. No polling, no waiting.
How Can I Test Webhooks on My Local Machine?
Testing webhooks on a local dev machine feels like a puzzle since your endpoint isn't exposed to the public internet. This is exactly why tunneling services are a developer's best friend.
- ngrok: This is the go-to tool for creating a secure tunnel from a public URL straight to your
localhost. It lets you receive live webhooks from services like Shopify or API2Cart on your own machine, making real-time testing and debugging a breeze. - Request Bins: Services like webhook.site give you a temporary, disposable URL that catches any webhook requests sent its way. It's perfect for quickly inspecting headers and payload structures without having to write a single line of code.
Using tools like these lets you iron out your listener logic and data parsing in a controlled environment long before you ever think about deploying to production.
What Happens If My Endpoint Goes Down?
Let's be realistic: services fail. Designing for that inevitability is non-negotiable. If your webhook listener goes offline for any reason, you're going to miss incoming notifications unless the sender has a solid retry mechanism in place.
Most reputable services, including API2Cart, will try to resend a failed webhook several times. They typically use a pattern known as exponential backoff, which adds increasing delays between each attempt.
But you shouldn't rely on the sender's retries alone. The gold standard is to build your listener to do one thing and one thing only: immediately stick the incoming payload into a durable queue like RabbitMQ or AWS SQS. This simple step ensures that even if your main processing logic is down, the event data is safely stored and won't be lost. It cleanly separates data ingestion from processing, which is the foundation of a truly robust and reliable integration.
Ready to build scalable eCommerce integrations without the headache? API2Cart offers a unified API and standardized webhooks for 60+ platforms, letting you focus on your product instead of maintaining dozens of fragile connections. Find out more and start your free trial.